


Nordic Walking News and Updates
How to Adjust Your Walking Poles…And Why It Matters
If you’re using walking poles—but not adjusting them correctly—you’re leaving a lot of benefits on the table.
Proper pole height isn’t just a “nice to have.” It directly impacts your posture, comfort, stability, and even how effective your workout is. The good news? Dialing it in takes less than a minute once you know what to look for.
Let’s break it down
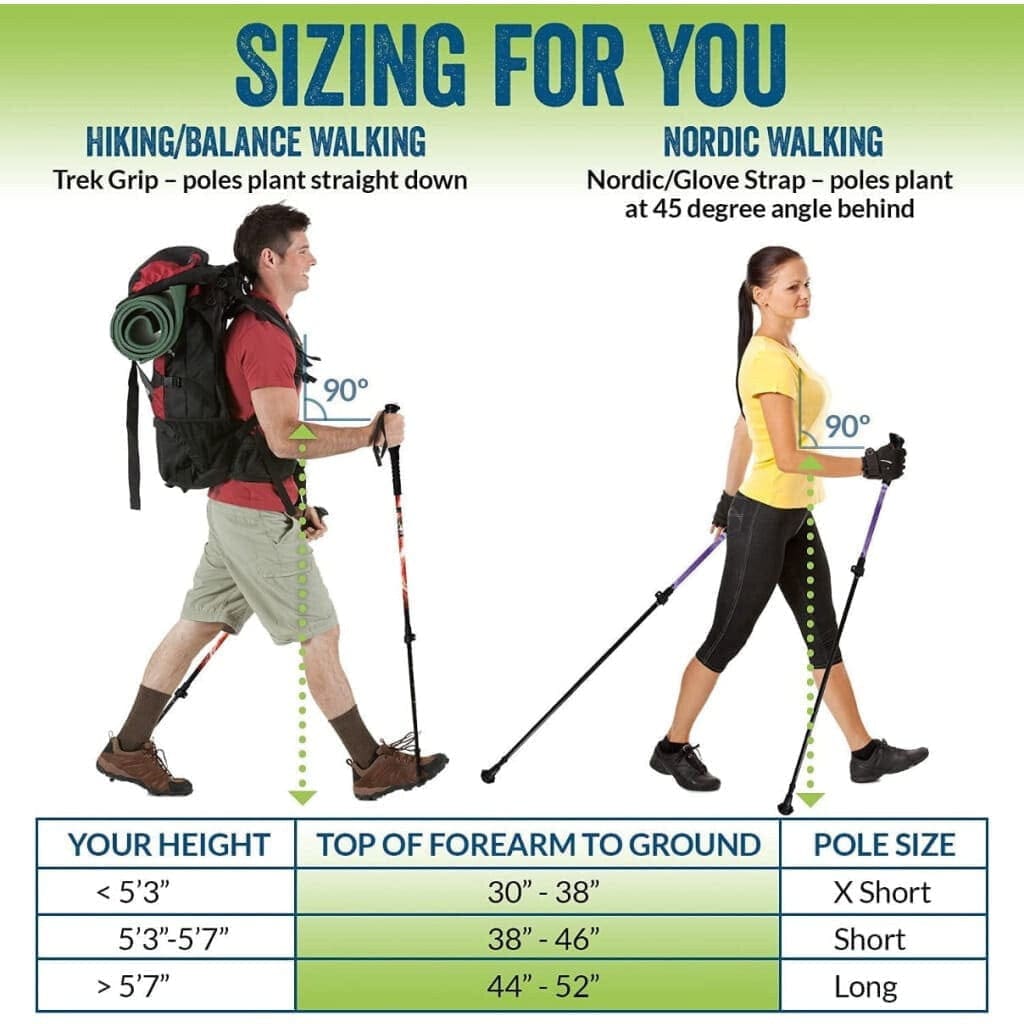
Step 1: Find Your Ideal Pole Height
The gold standard for walking pole sizing is simple:
- Your forearm should be an inch or two below your elbow at 90-degrees
- The pole tip should be planted straight down beneath your hand
That’s your baseline. From there, you can fine-tune depending on how you’re using your poles:
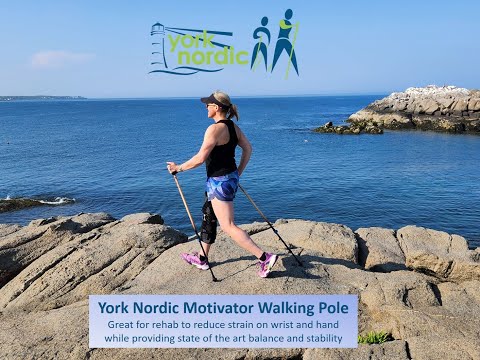
- For balance & rehab: Keep poles slightly shorter for stability
- For Nordic walking (fitness): Slightly longer can help with propulsion and stride
- For hills: Shorten uphill, lengthen downhill
Pro tip: Your body proportions matter more than your height. Measuring from the ground to your forearm is more accurate than relying on a generic height chart.
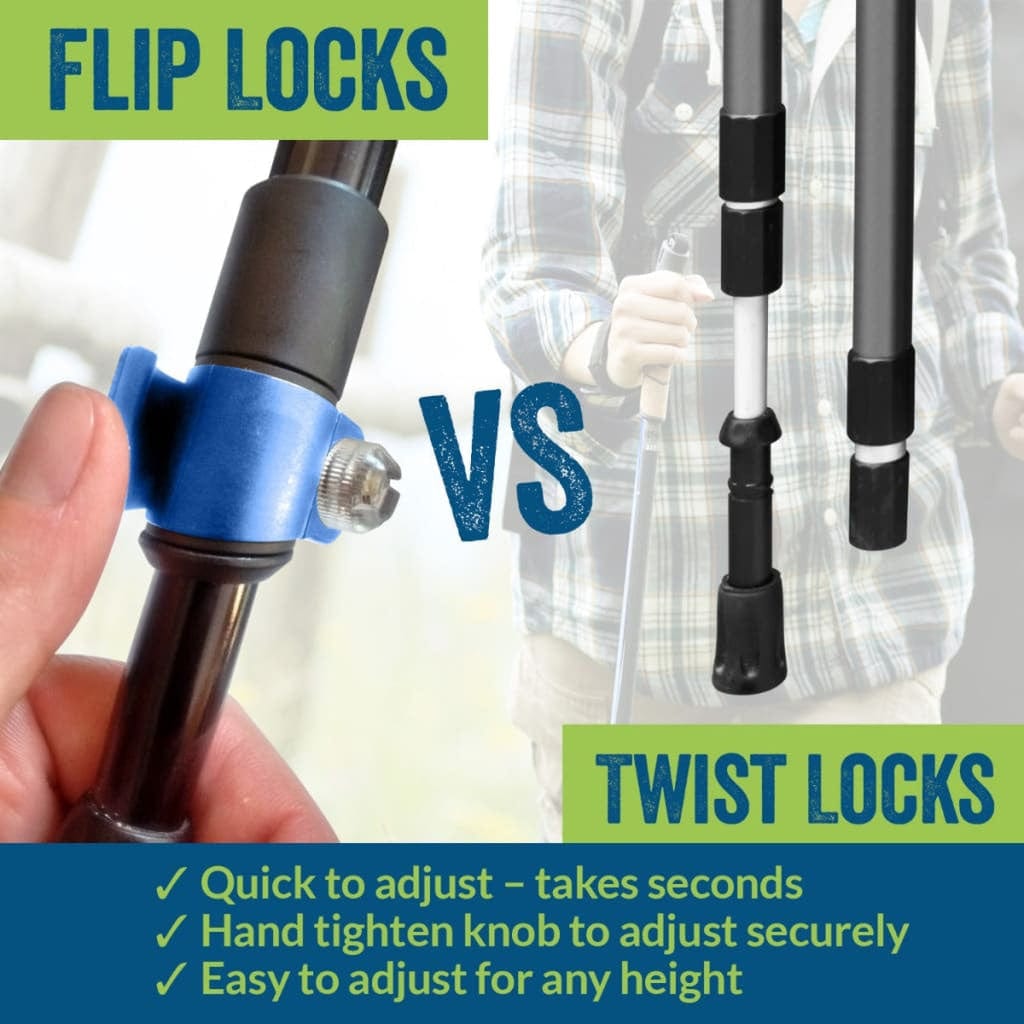
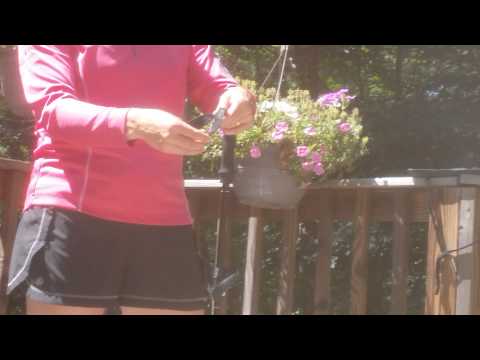
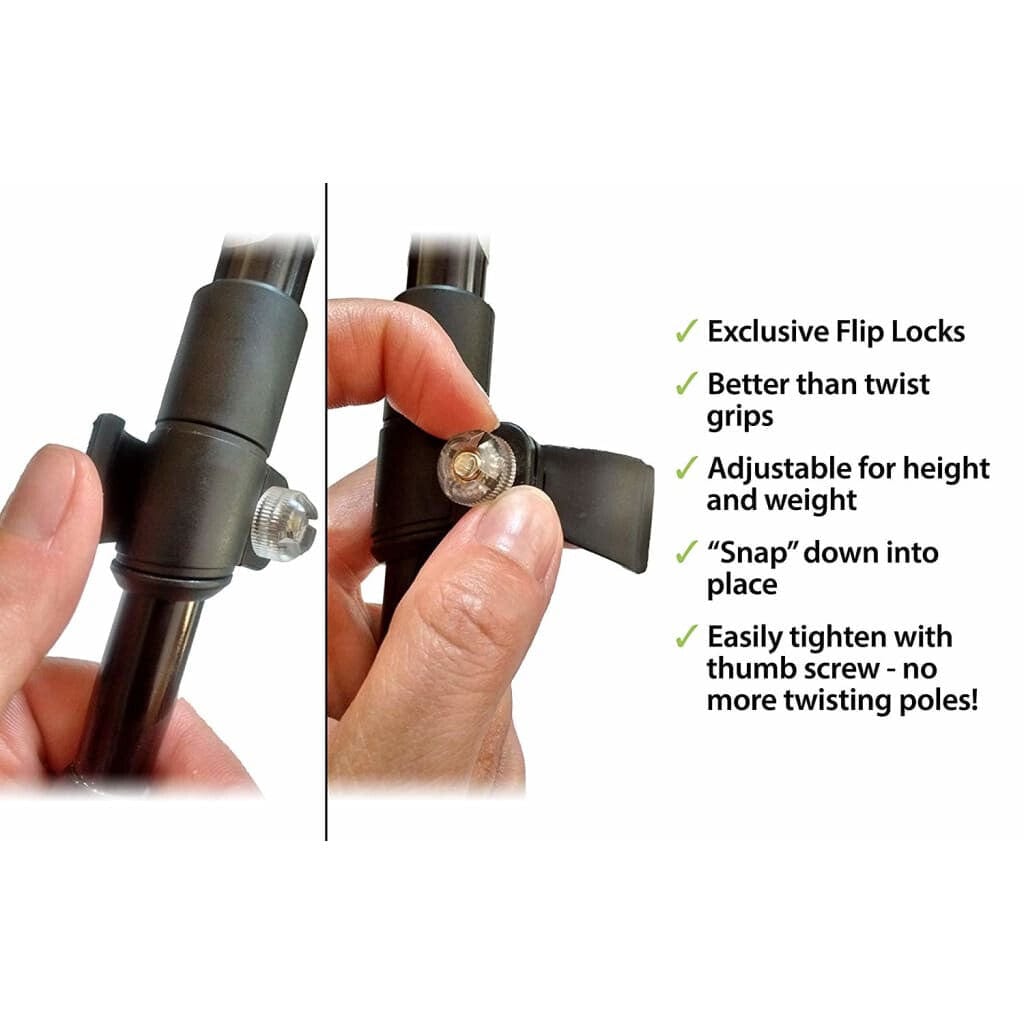
Step 2: Adjust Your Poles Properly
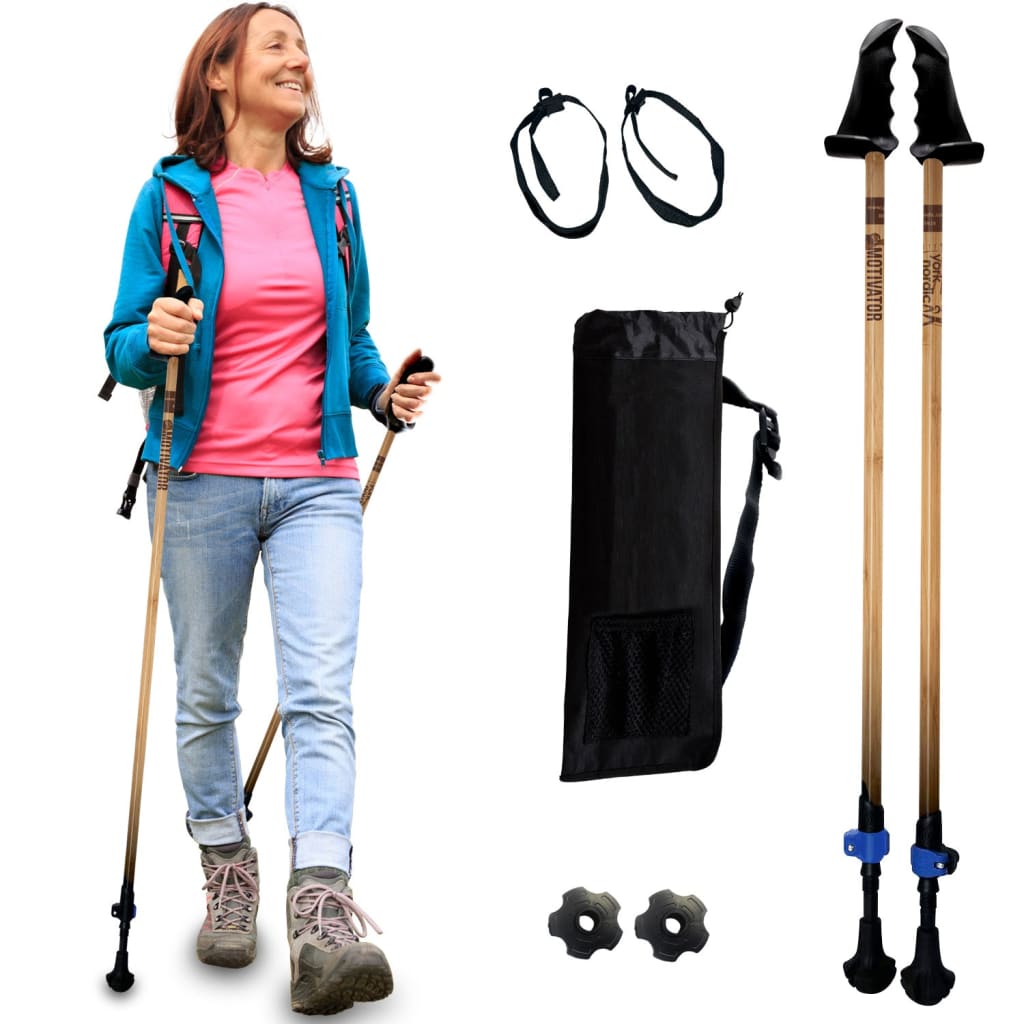
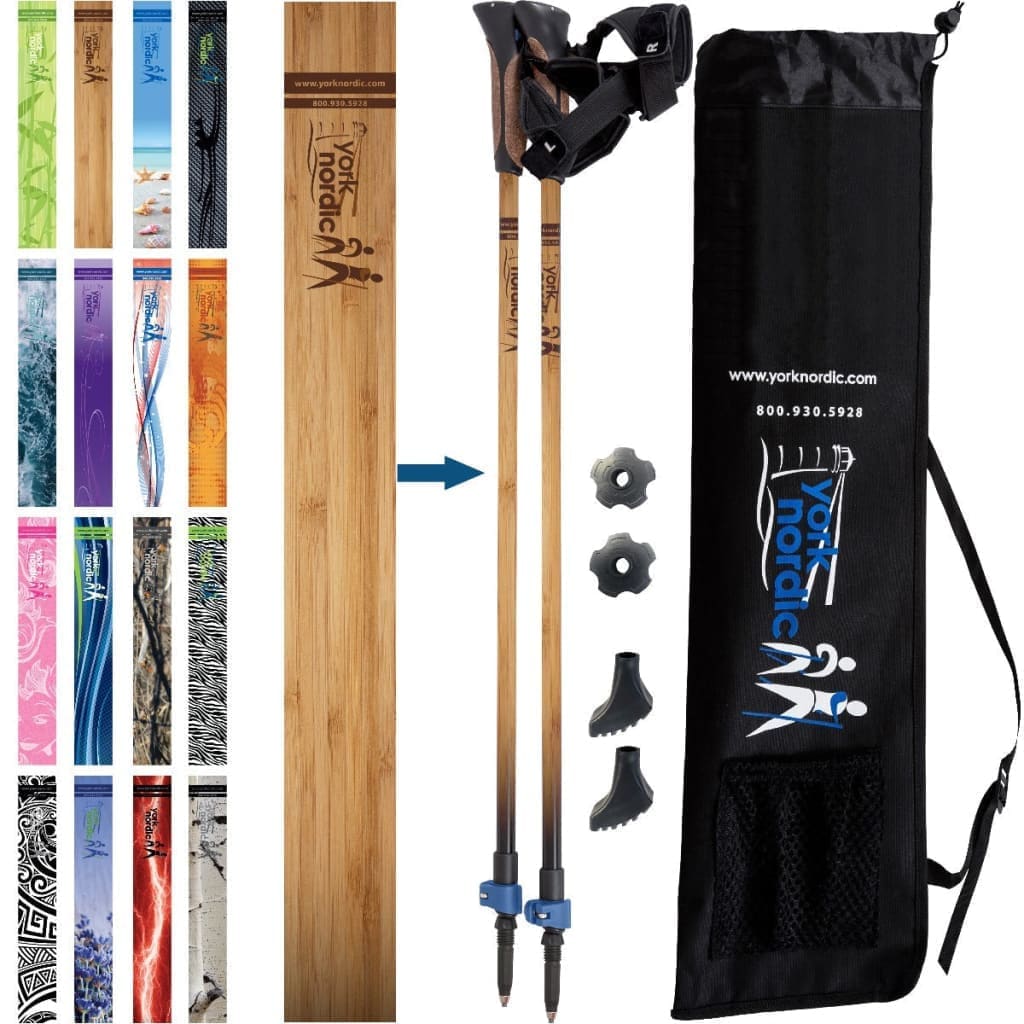
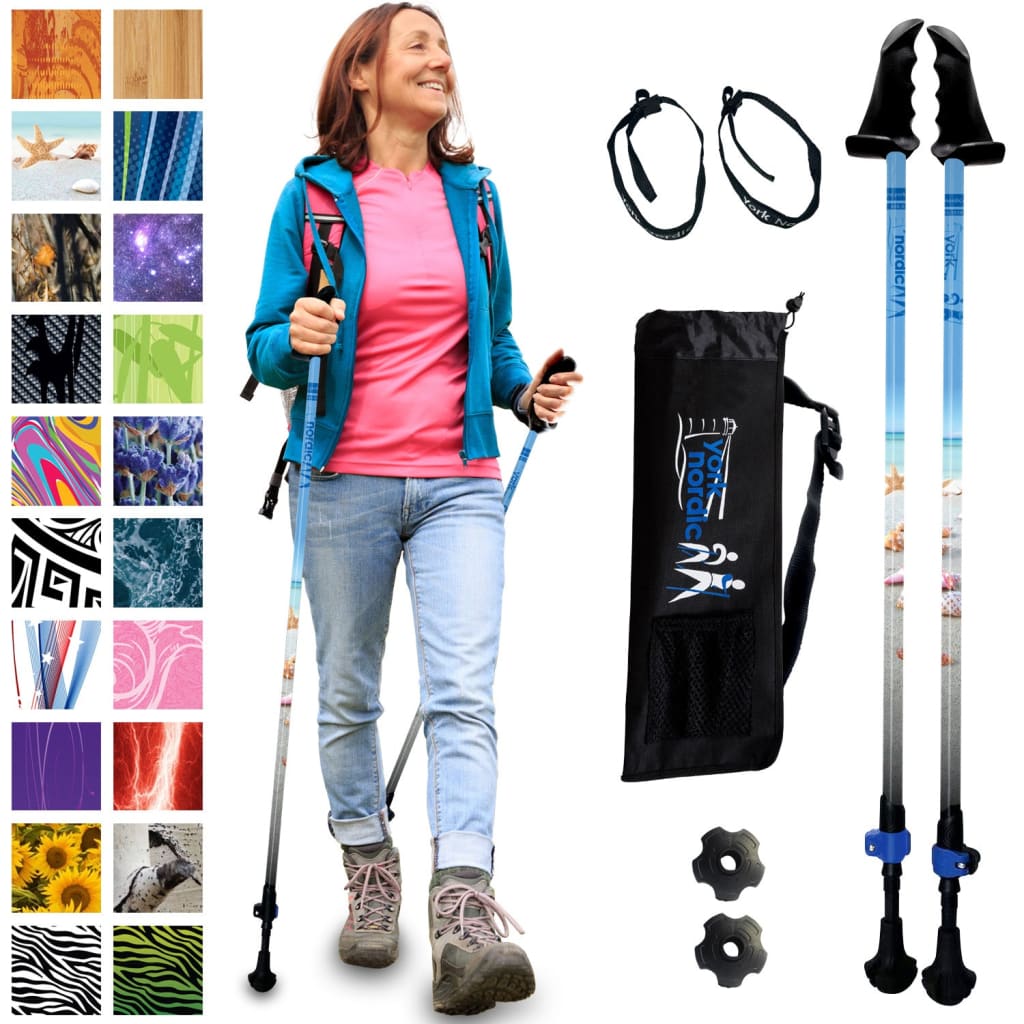
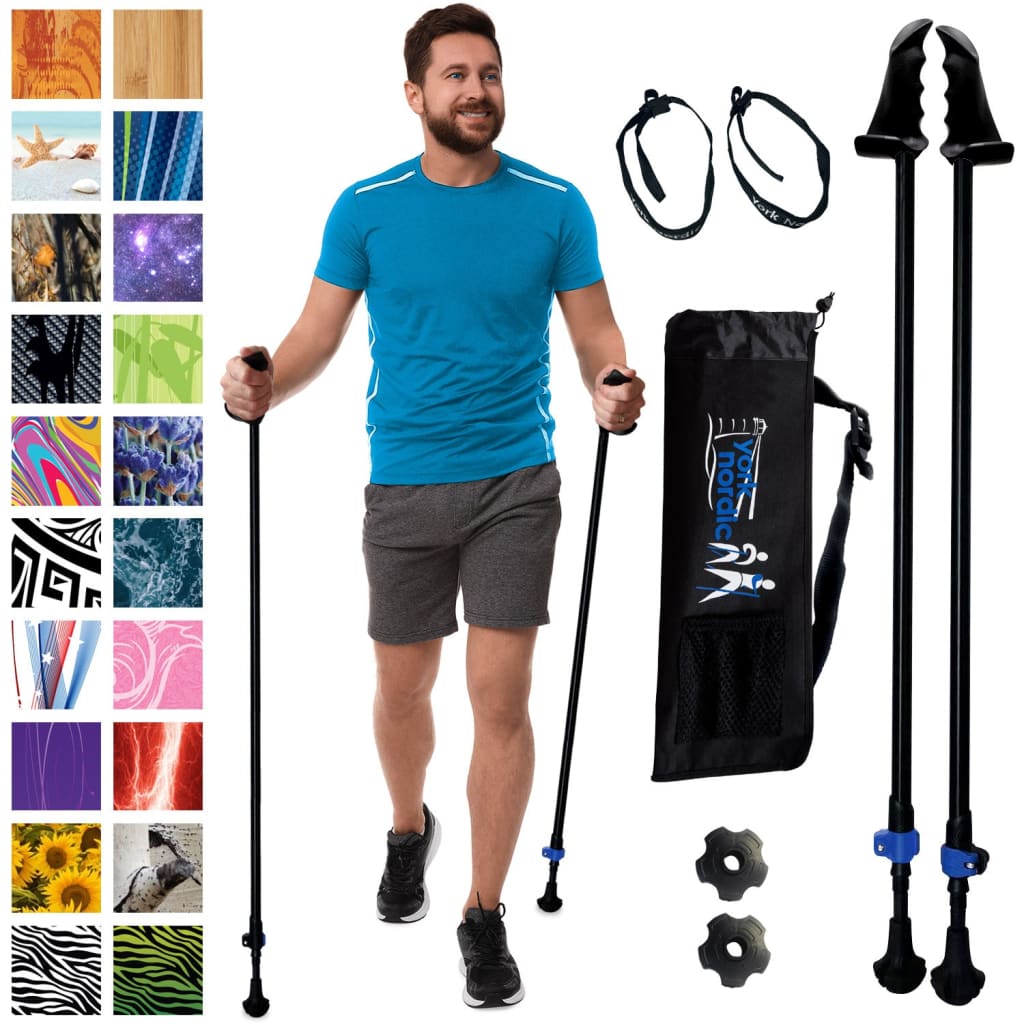
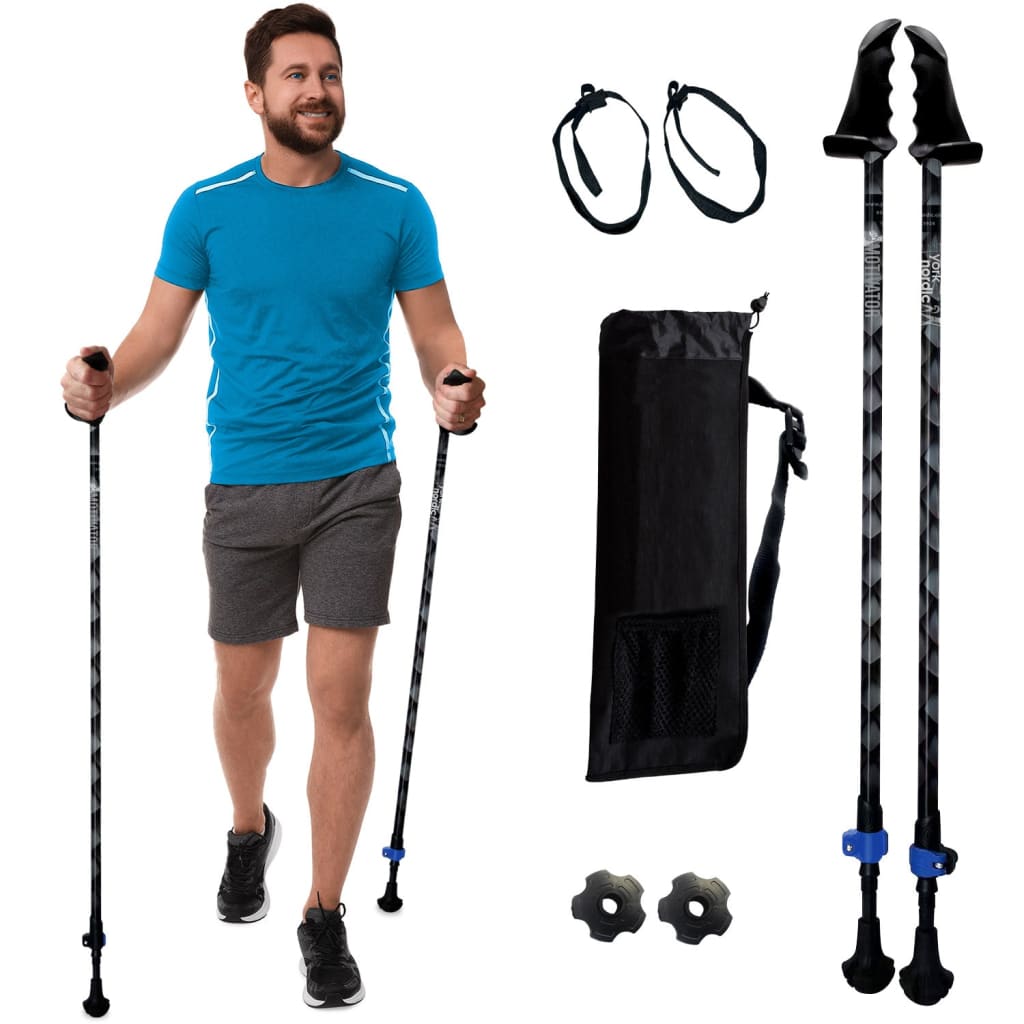
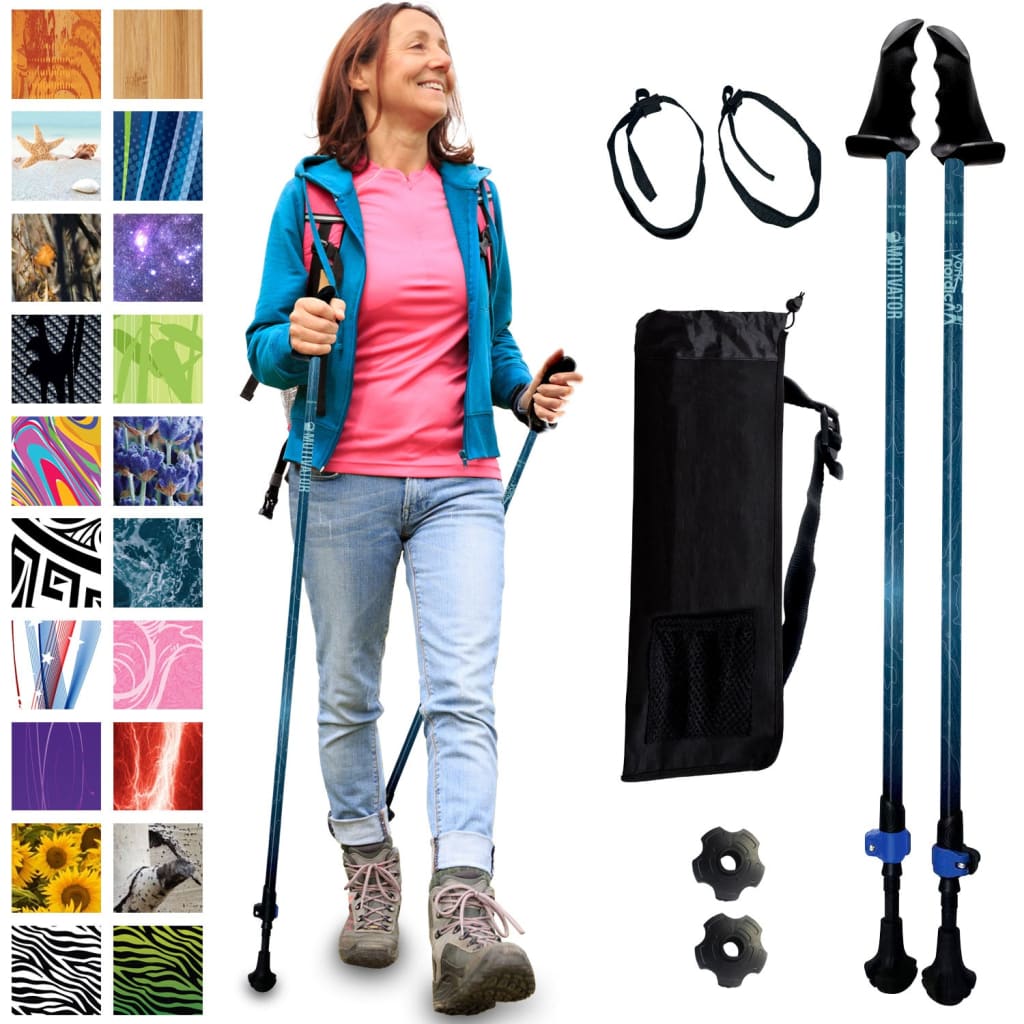
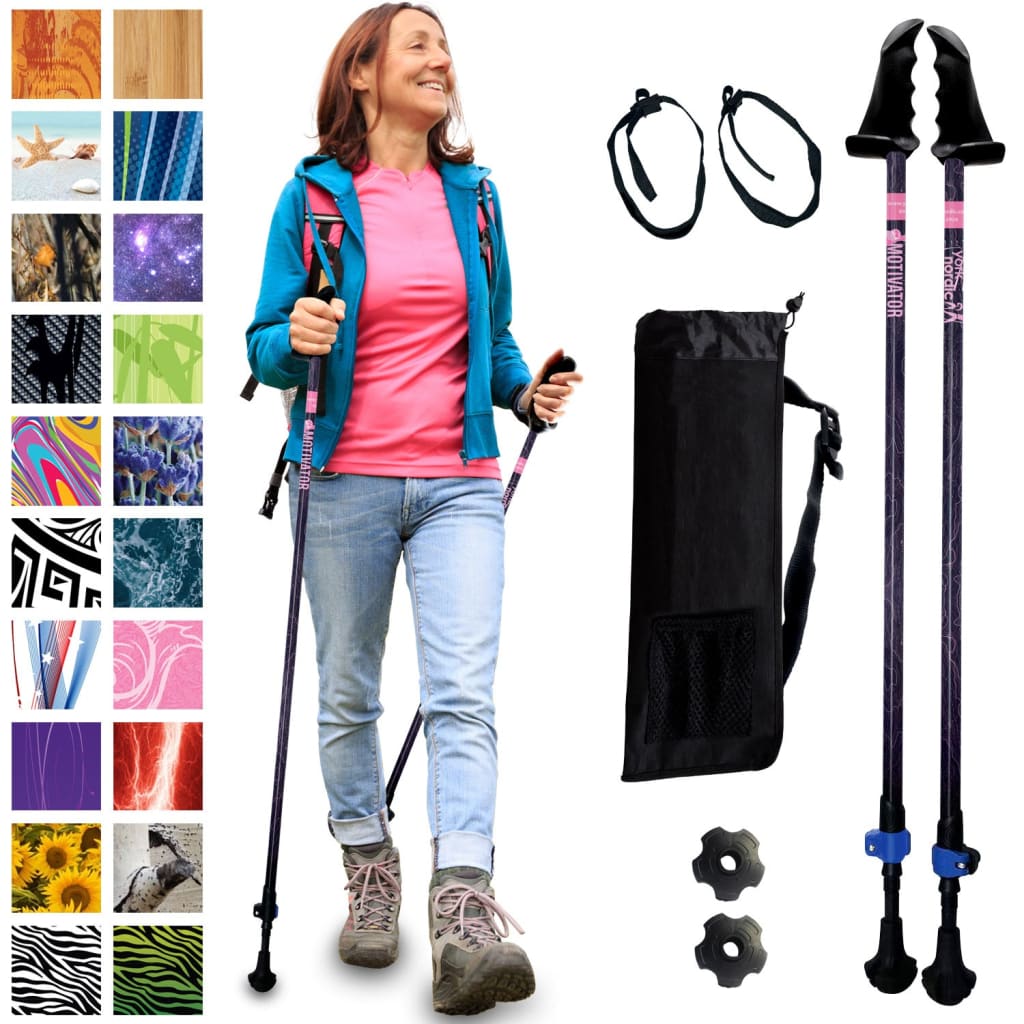
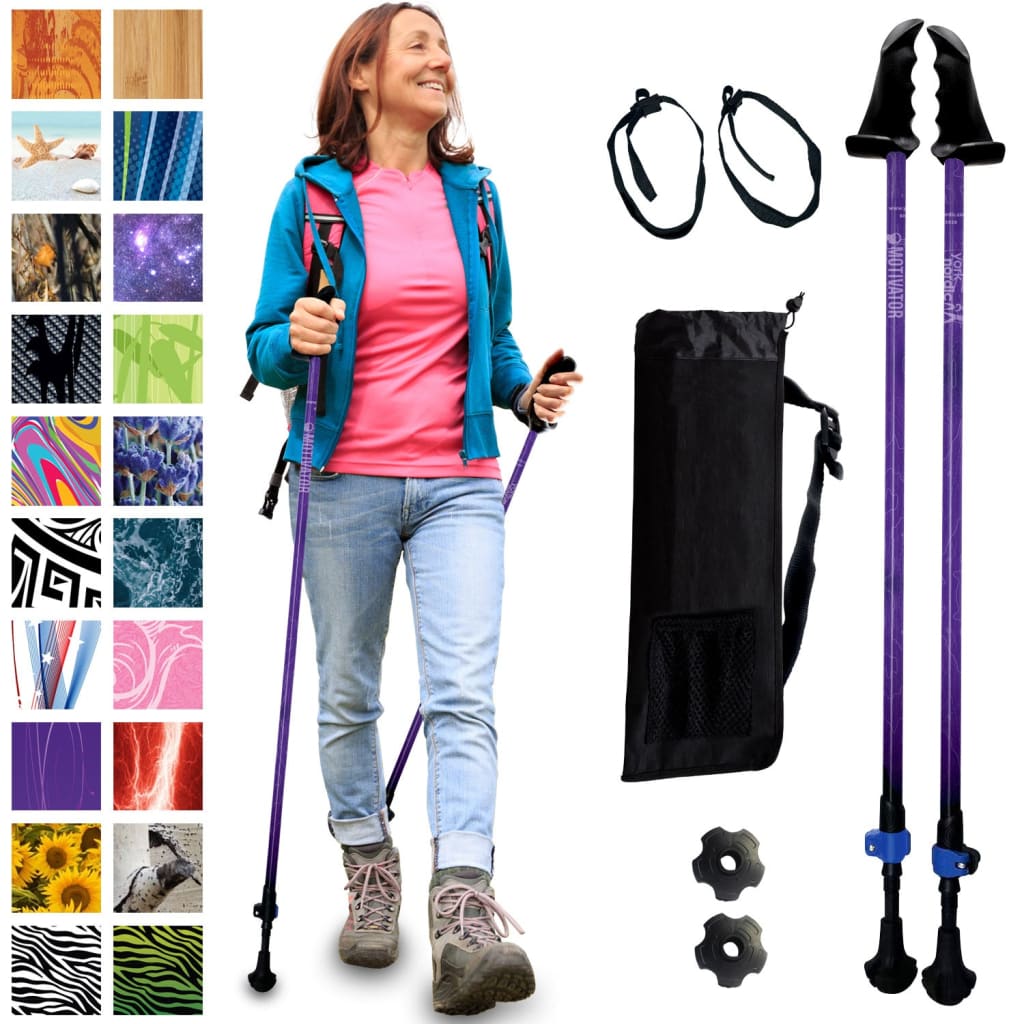
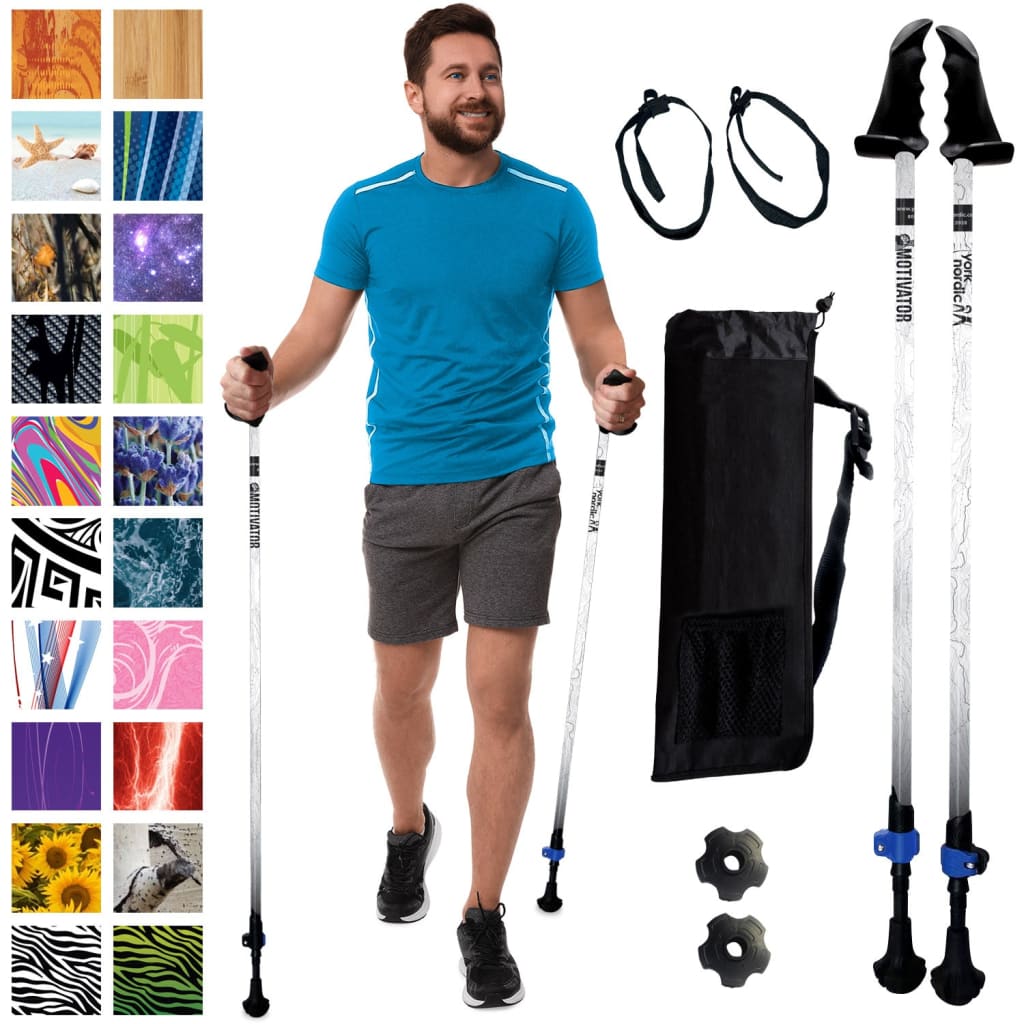
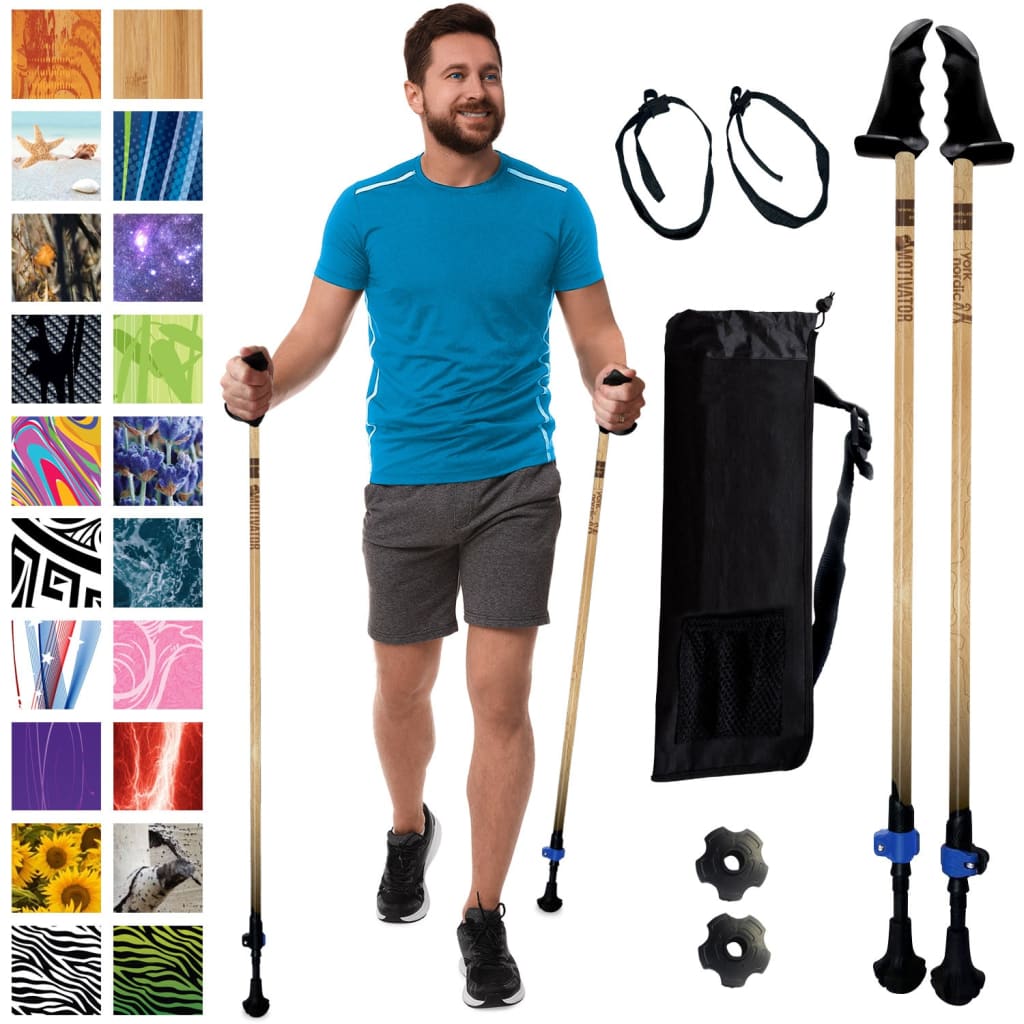
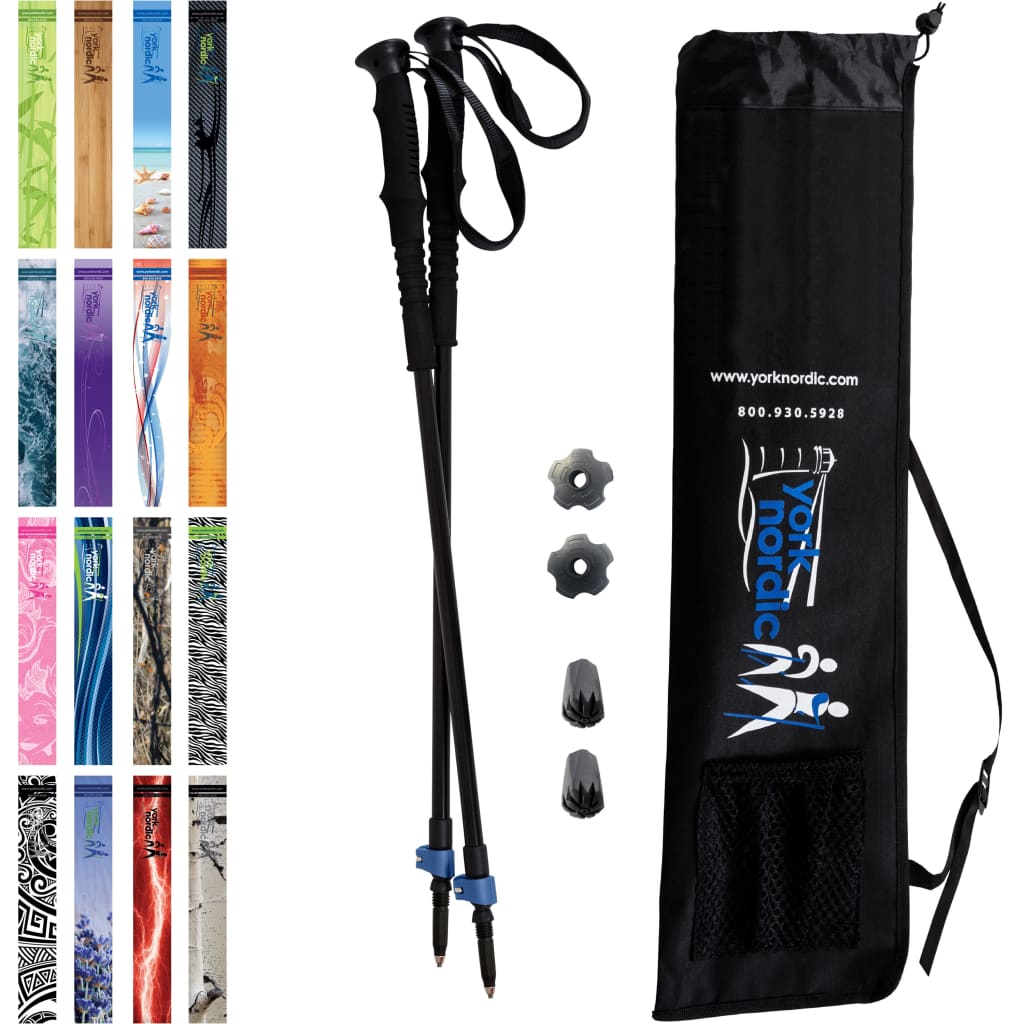
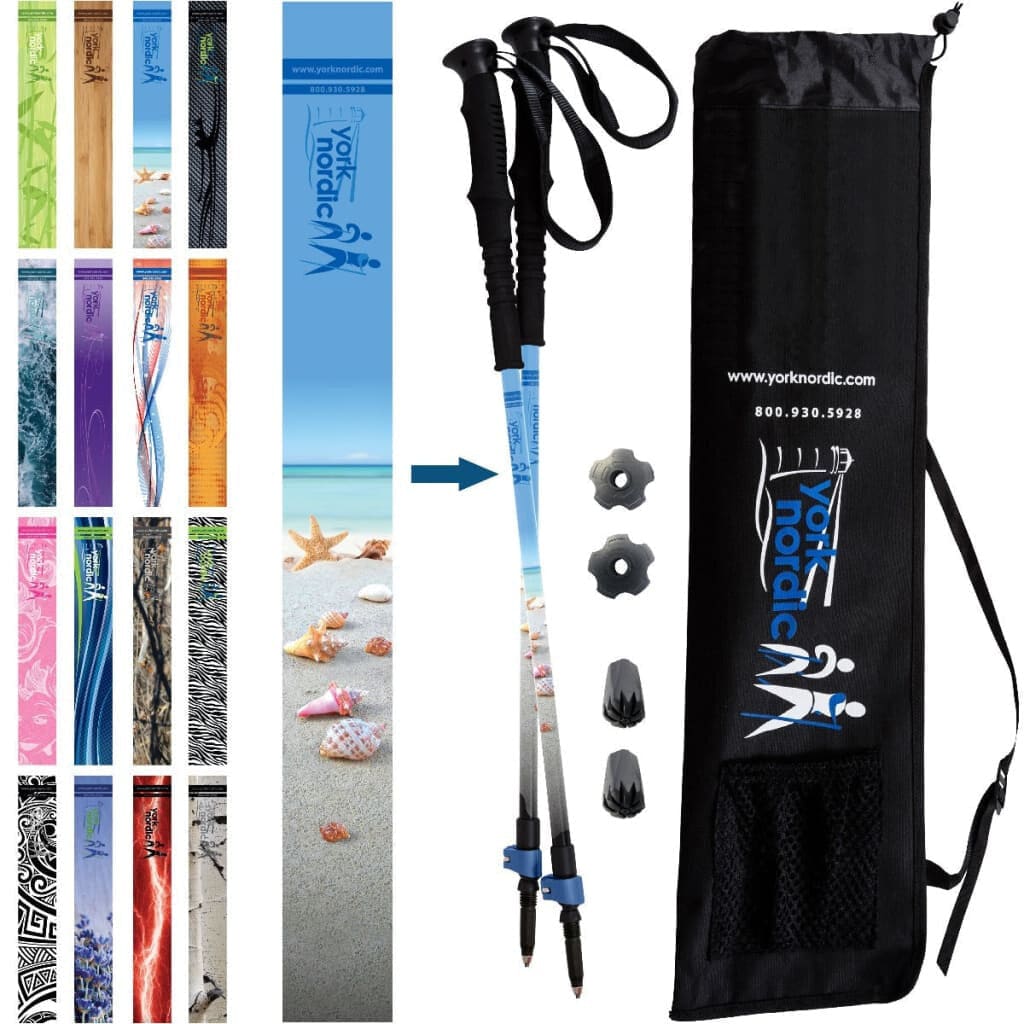
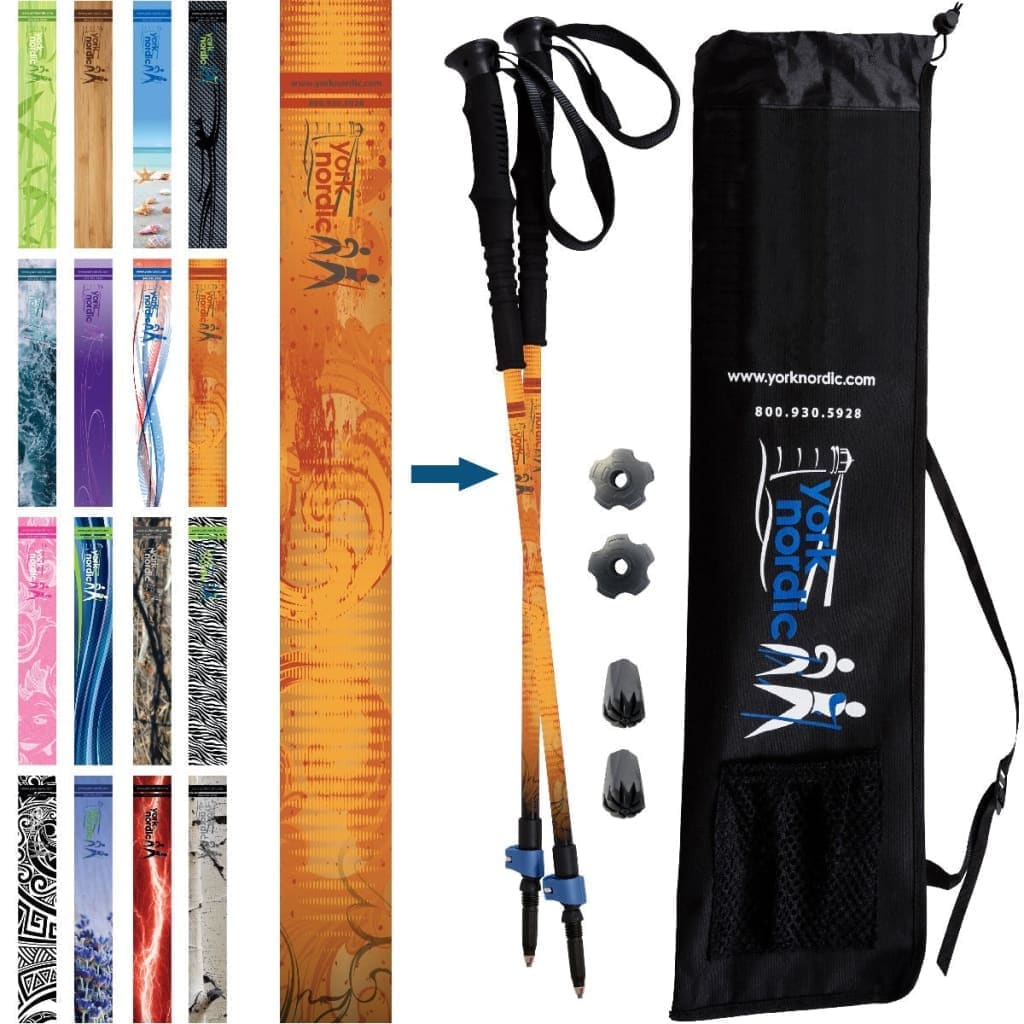
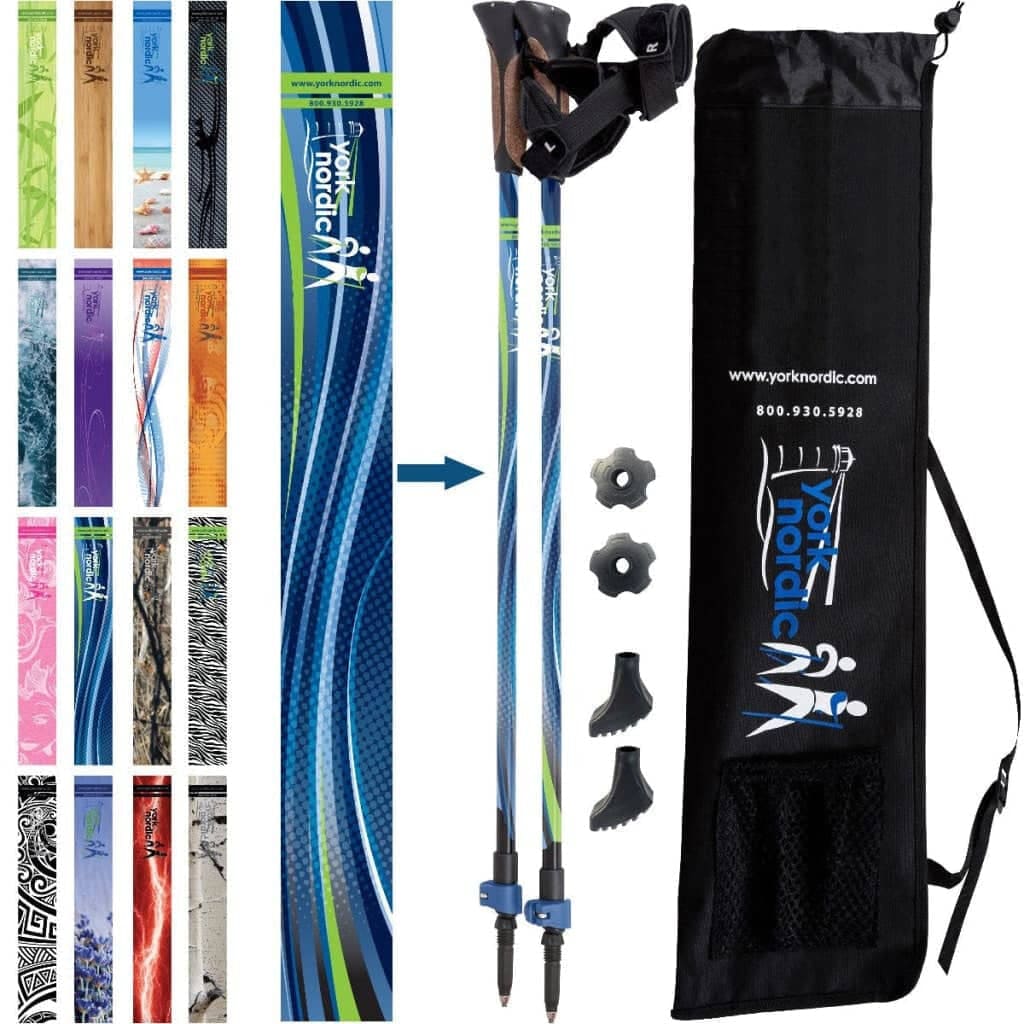
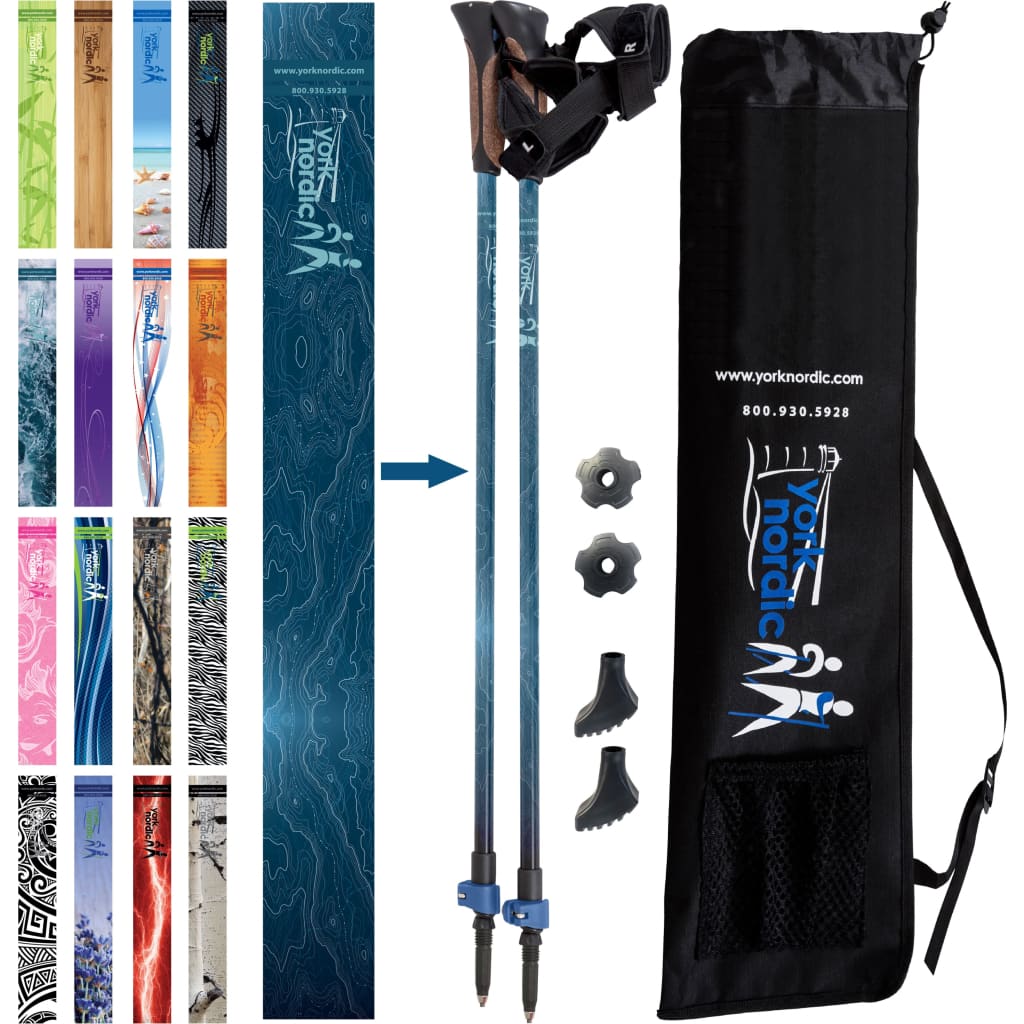
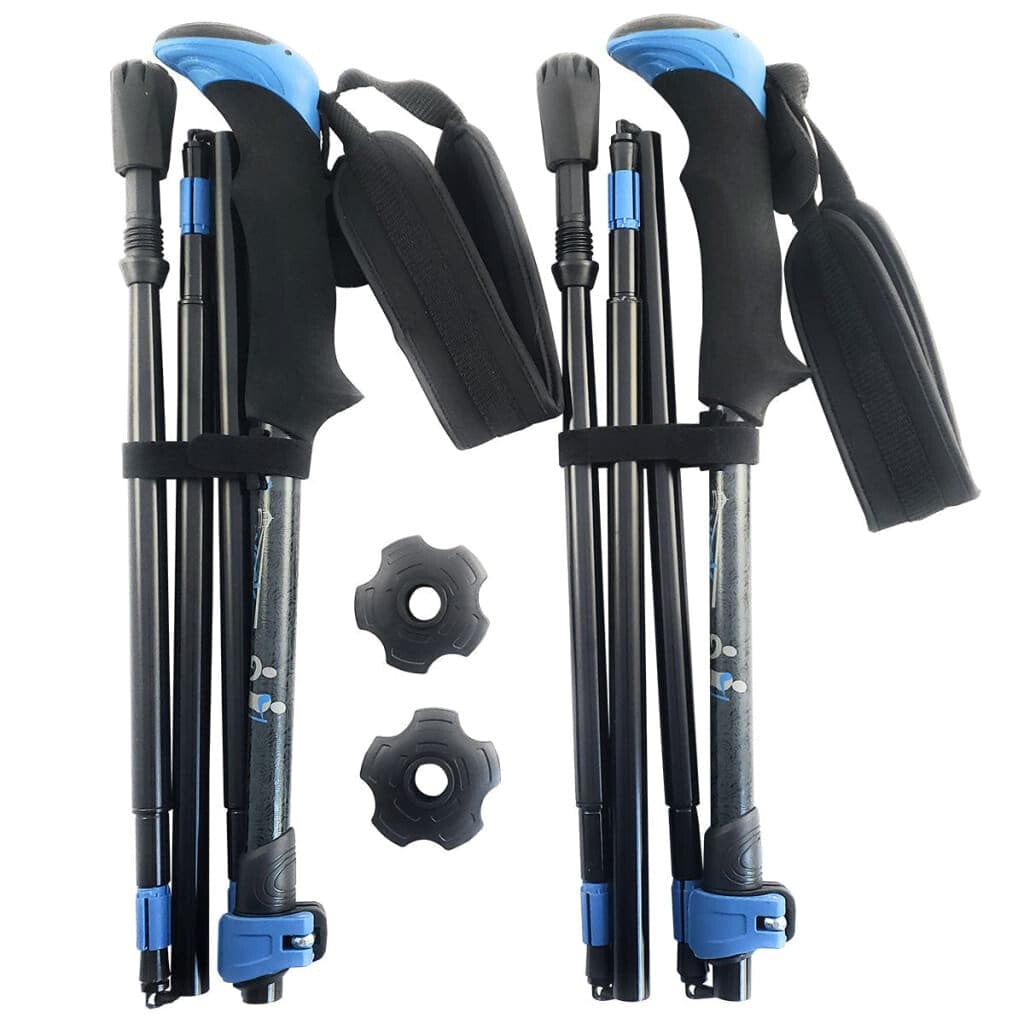
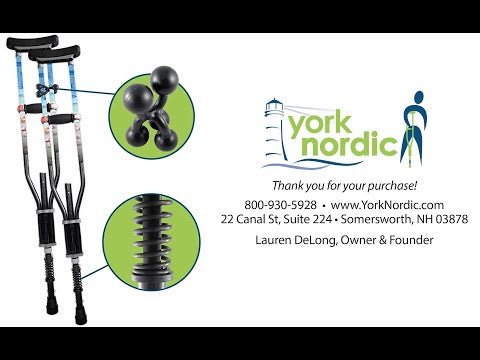
Most York Nordic poles use flip locks, which make adjustments quick and secure. Others use Swift-Connect push buttons which are also very quick and easy.
Here’s how to do it:
- Open the flip lock or push in the adjustment button
- Slide the pole to your desired height
- Close the lock firmly until it snaps tight or let the adjustment button pop into place
- Double-check by putting weight on the pole
If the pole slips, tighten the lock slightly and try again.
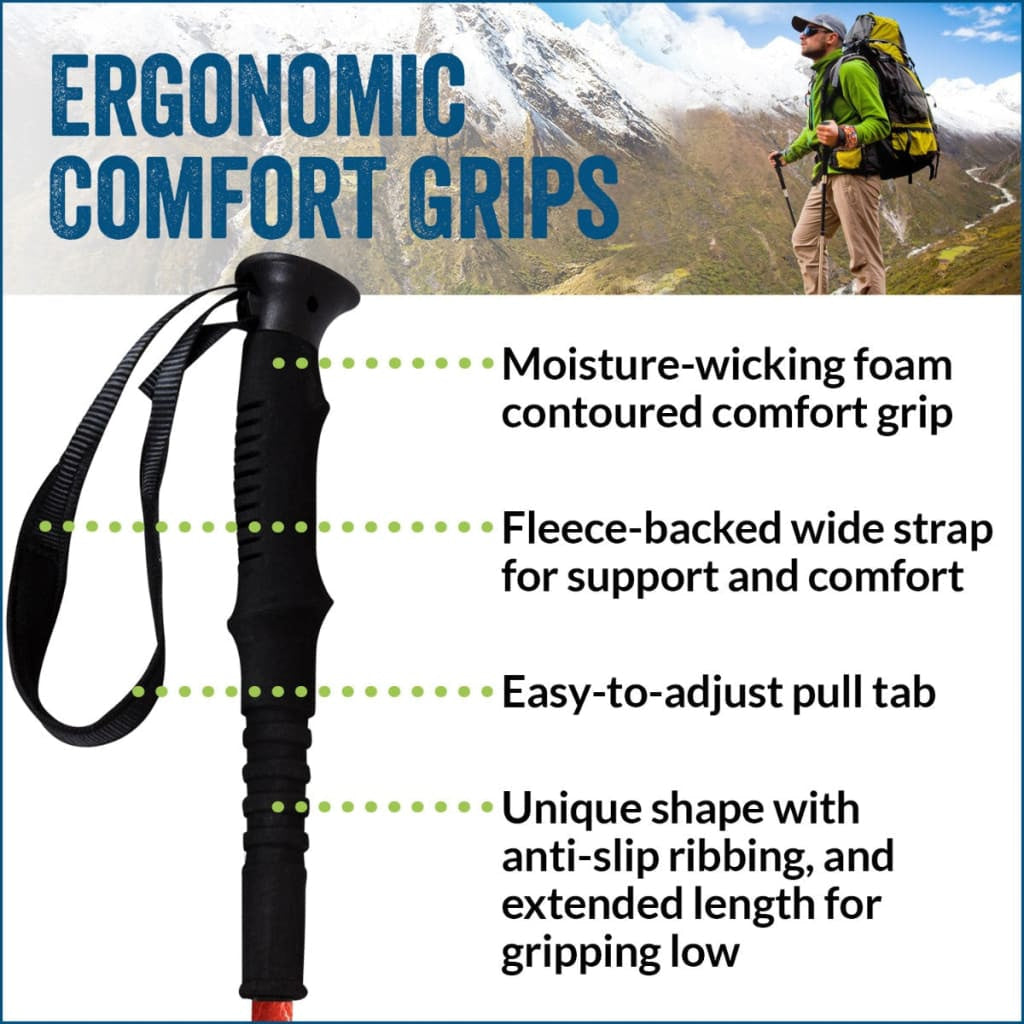
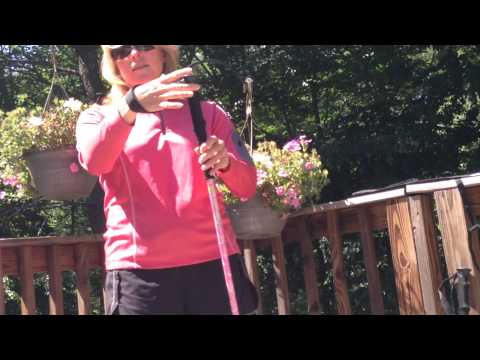
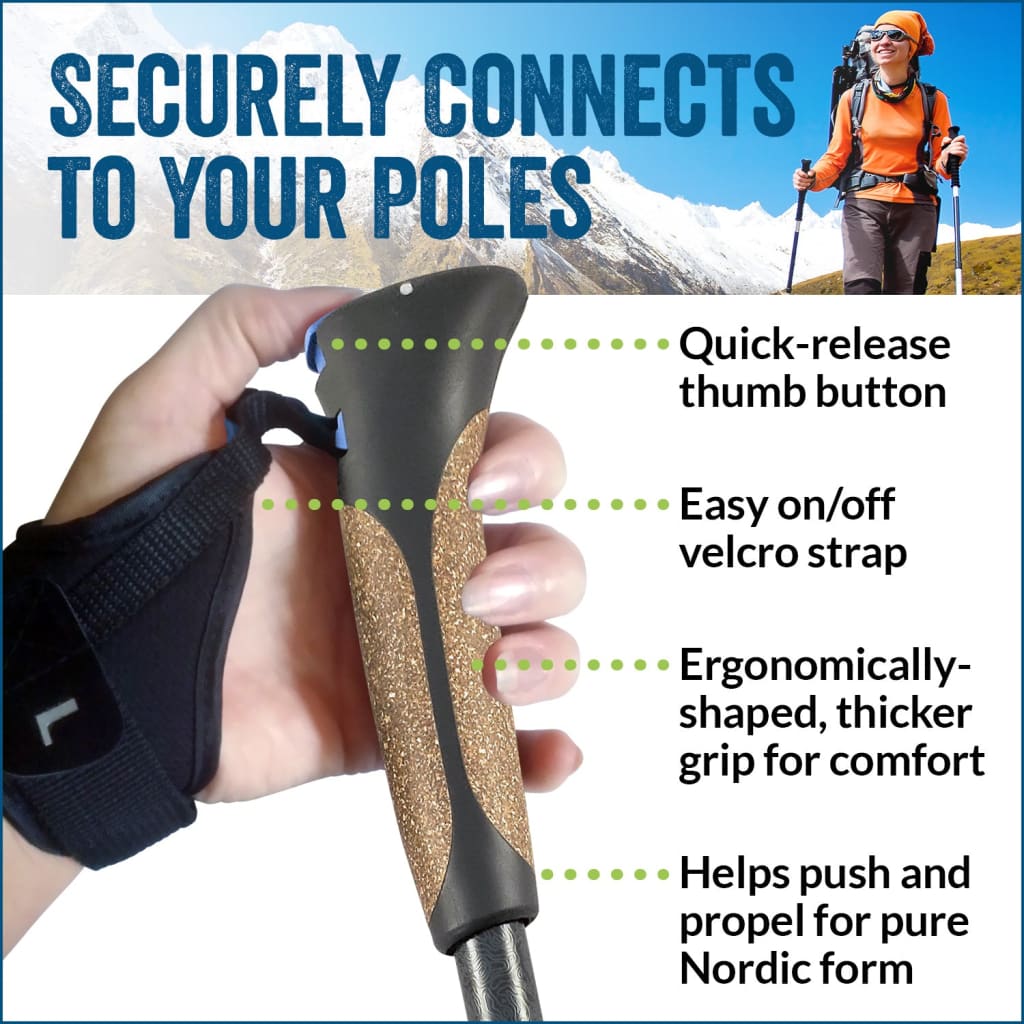
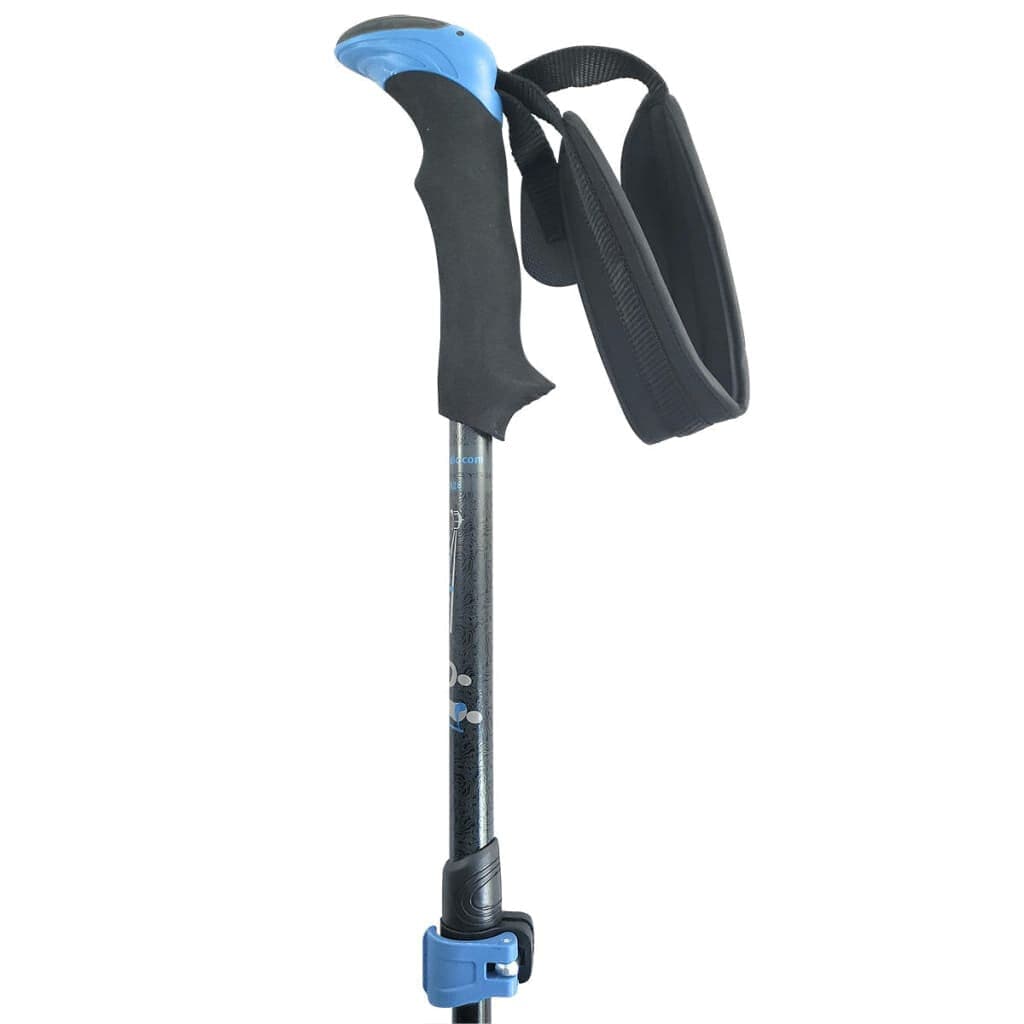
Step 3: Don’t Forget the Wrist Strap
This is where a lot of people get it wrong.
For Nordic walking, your wrist strap should:
- Support your hand from underneath
- Allow you to relax your grip
- Stay snug when angled downward (not loose or slipping)
When adjusted correctly, the strap does a lot of the work—reducing hand fatigue and improving control. For regular walking or trekking, the strap helps ensure your pole does not slip out of your hand.
Why Proper Adjustment Matters
This is the part most people underestimate.
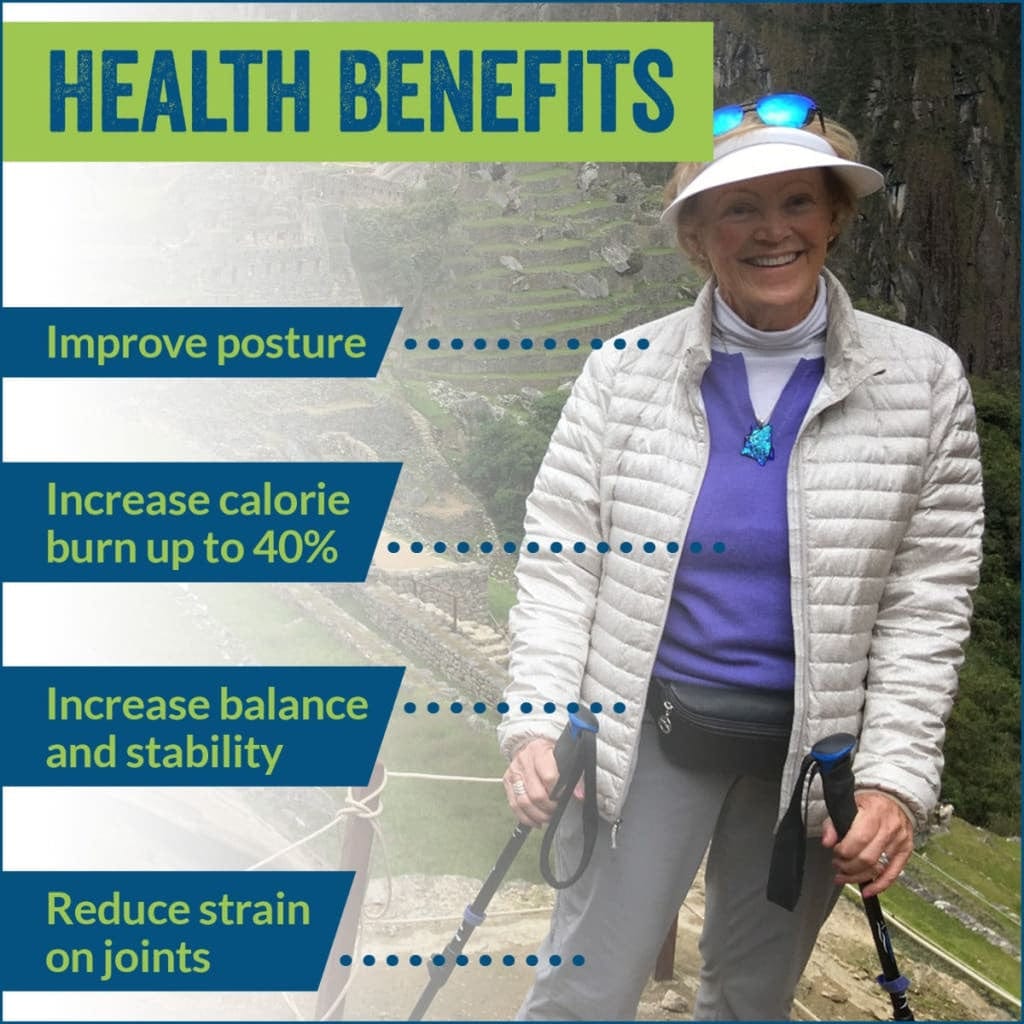
1. Better Posture (Instantly)
Correct pole height encourages you to stand taller, open your chest, and align your spine. Too short? You hunch. Too long? You overreach.
2. More Power, Less Effort
When your poles are set right, you can actually push off the ground and engage your upper body. That’s what turns walking into a full-body workout.
3. Reduced Joint Strain
Proper alignment takes pressure off your:
- Wrists
- Elbows
- Shoulders
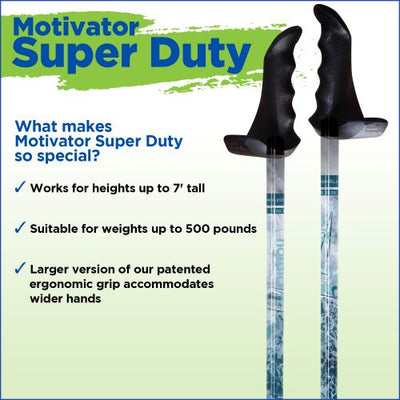
York Nordic poles, especially models with ergonomic grips, are designed to maximize this benefit when adjusted correctly.
4. Improved Stability & Balance
This is huge for:
- Recovery
- Injury prevention
- Uneven terrain
Poles that are too long or too short won’t give you the support you think they will.
5. More Confidence on Every Step
When your poles feel right, everything clicks—your rhythm, your stride, your confidence.
Common Mistakes to Avoid
Let’s save you some frustration:
- Setting it and forgetting it – Your ideal height can change depending on terrain and activity
- Ignoring the wrist straps – They’re not optional—they’re essential
- Going by height charts only – Your arm length matters more
- Using the same length for all activities – Trekking/Walking ≠ Nordic walking
Quick Adjustment Checklist
Before you head out:
✅ Forearms an inch or two below elbows at ~90 degrees
✅ Flip locks or snaps tight and secure
✅ Wrist straps snug and supportive
✅ Comfortable, natural arm swing
If it feels awkward, it probably needs a small tweak.
Final Thought
Walking poles are one of the simplest ways to improve your movement—but only if they’re set up correctly.
Take 60 seconds to adjust them properly, and you’ll get:
- Better posture
- More power
- Greater stability
- A more enjoyable walk
Small adjustment. Big difference. Lets' Get Out There!
Tags
Educational, Health Benefits of Walking, Nordic Walking Tips and Tricks, Pole Walking for Seniors, Product Updates, Walking Research


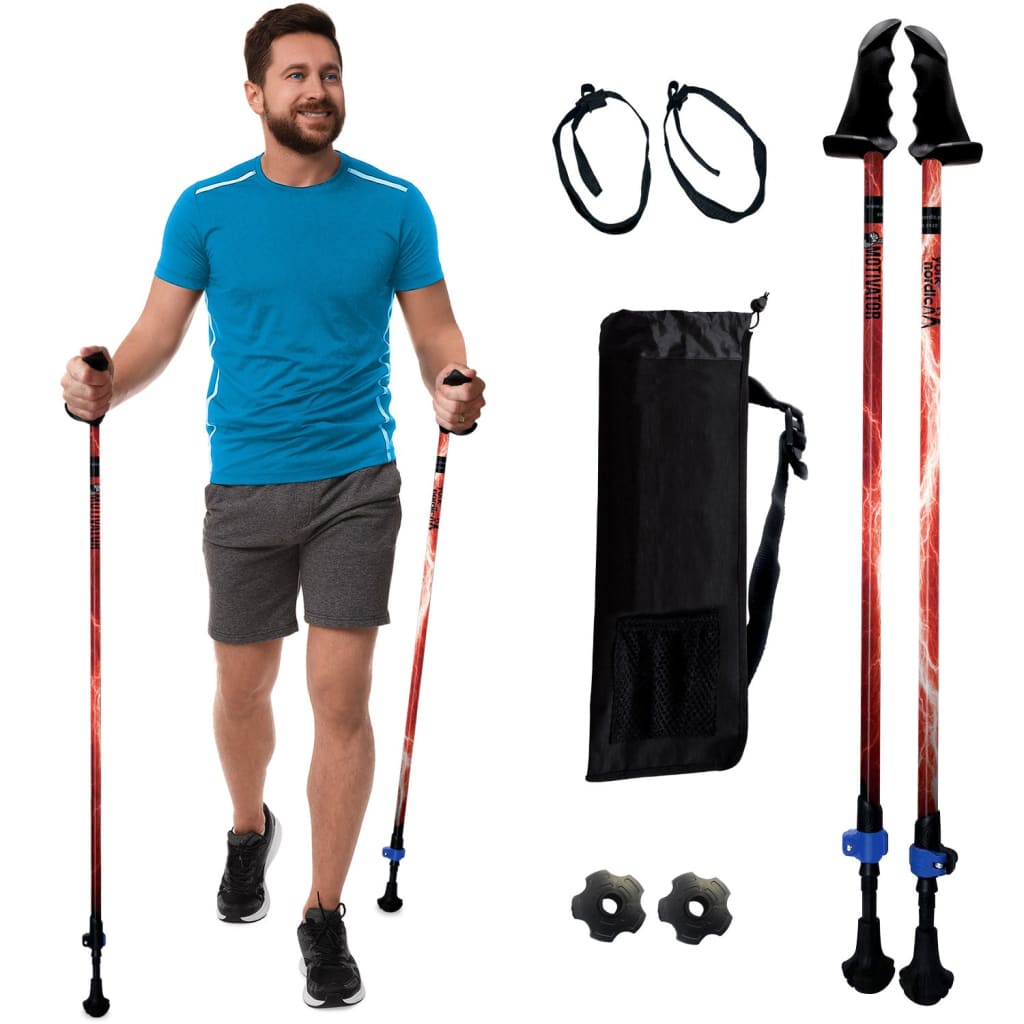
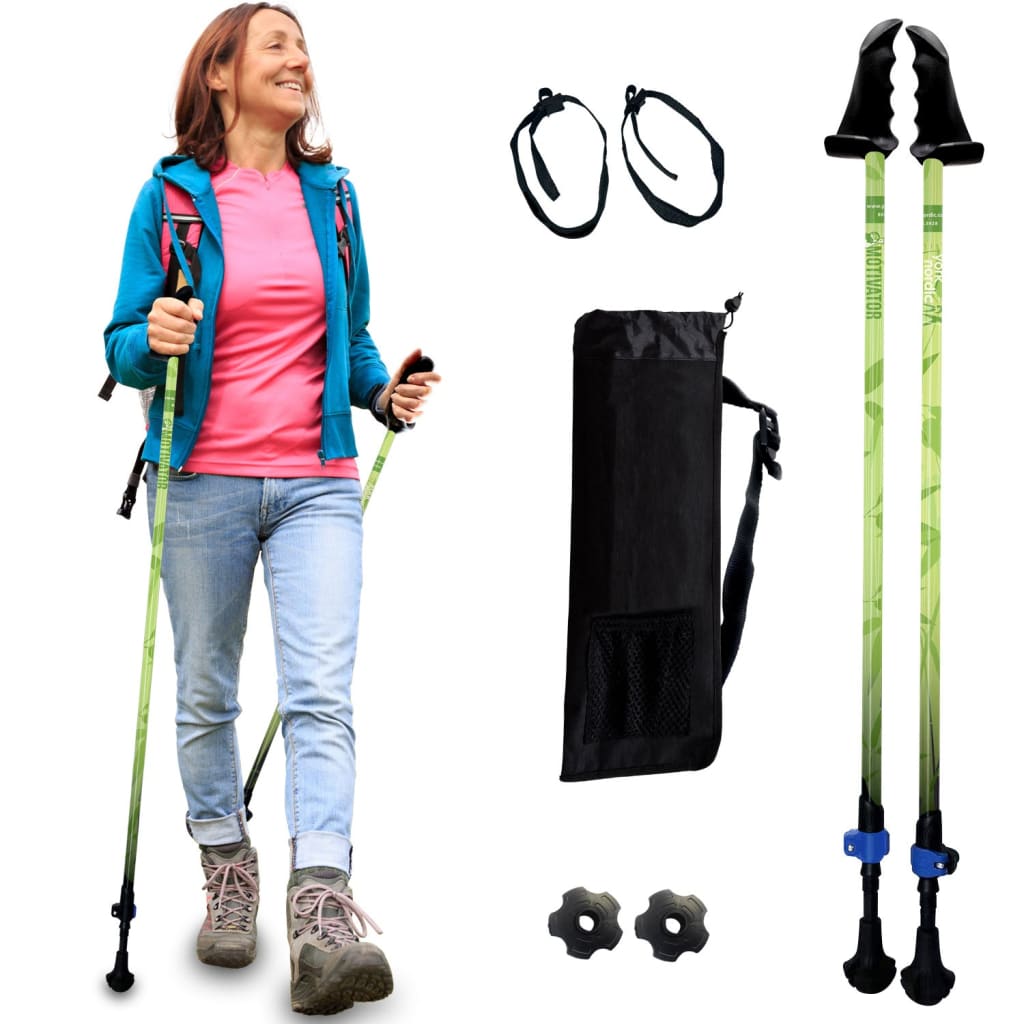
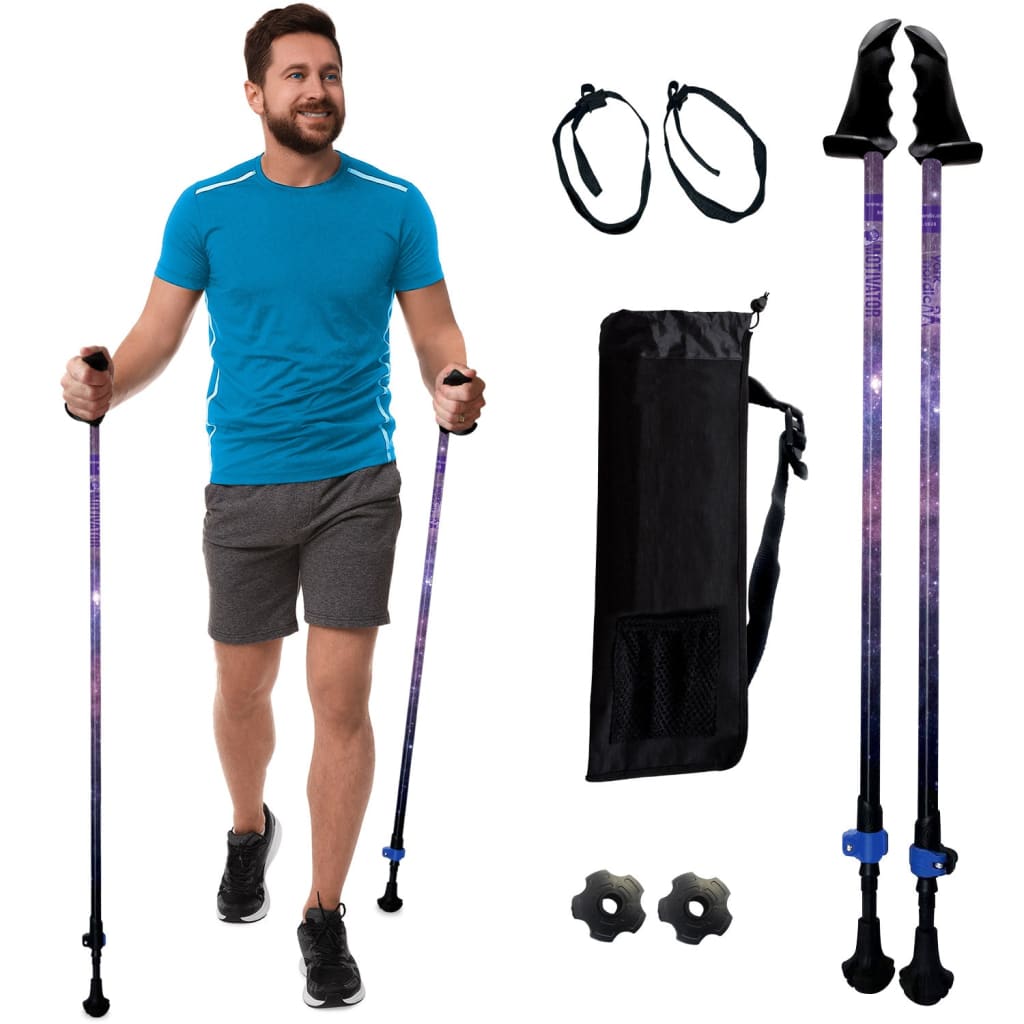
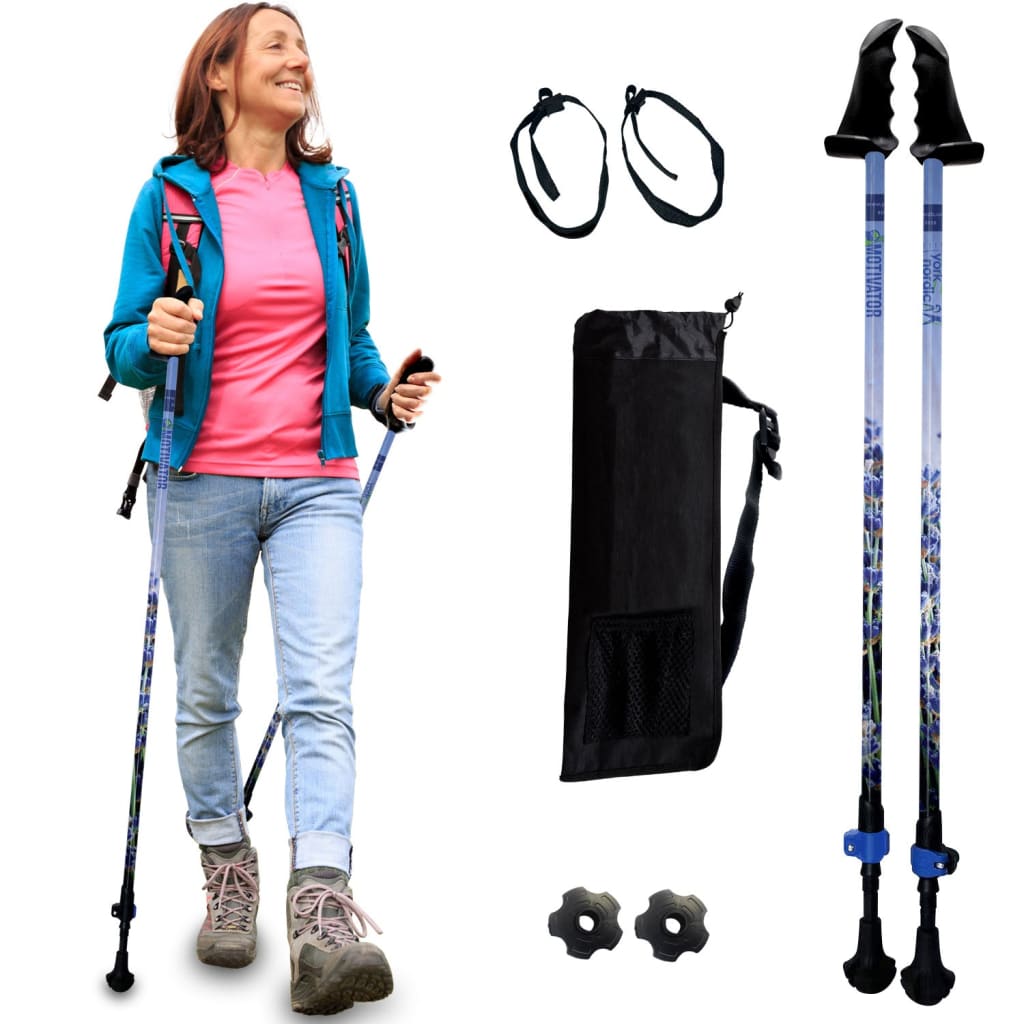
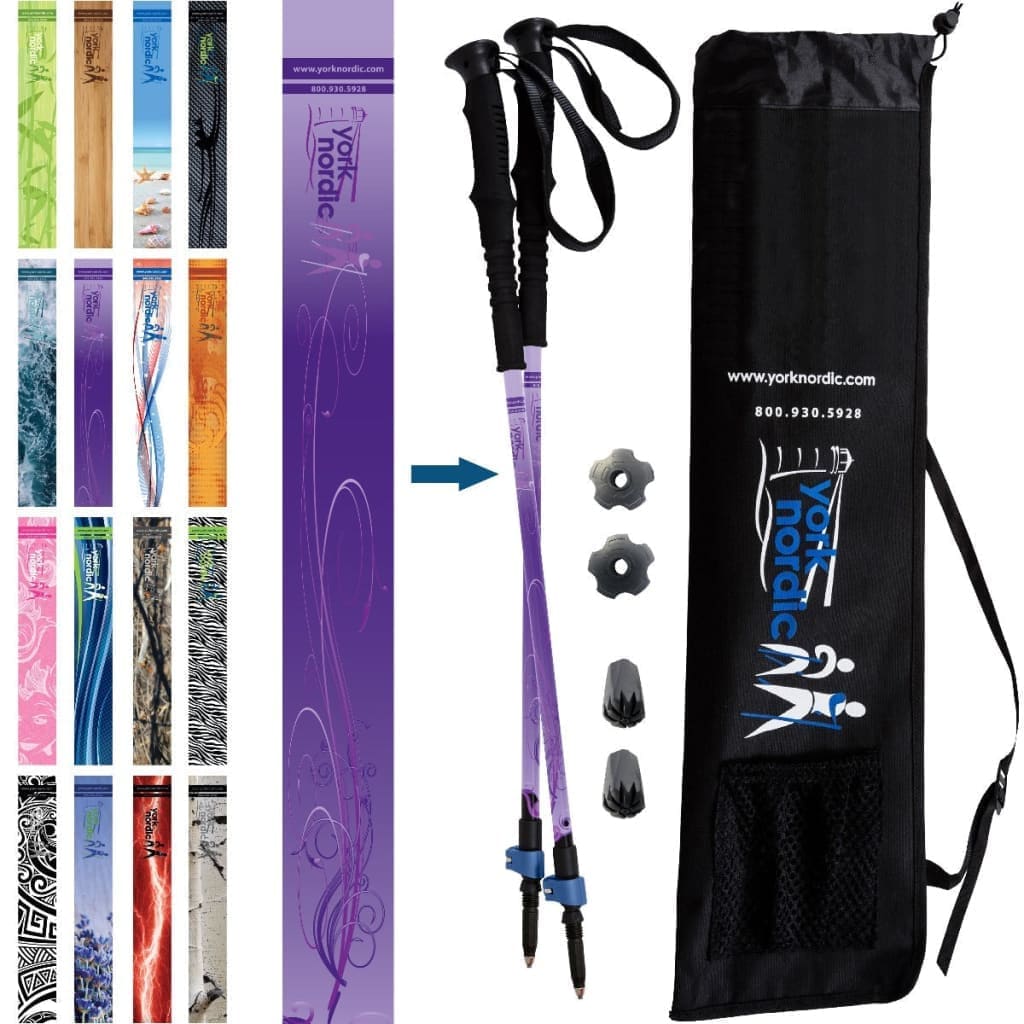
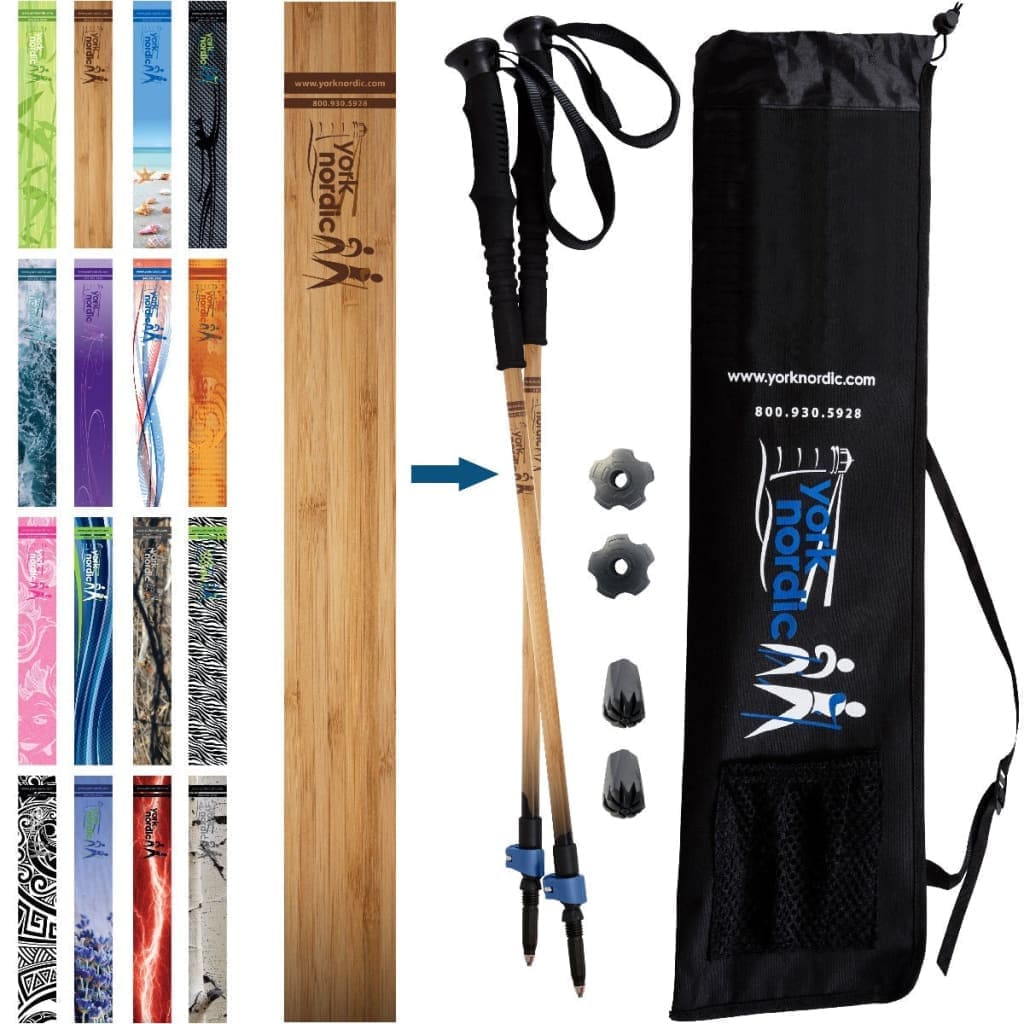
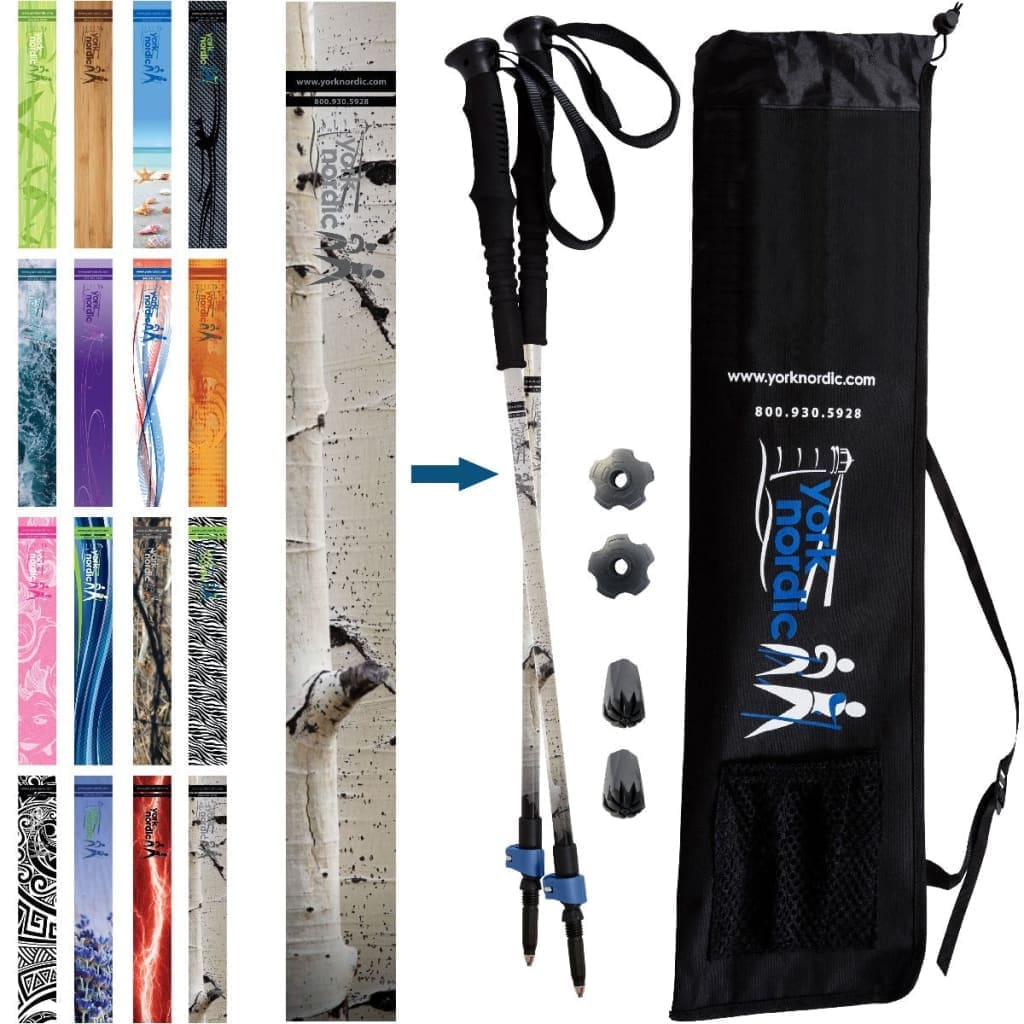
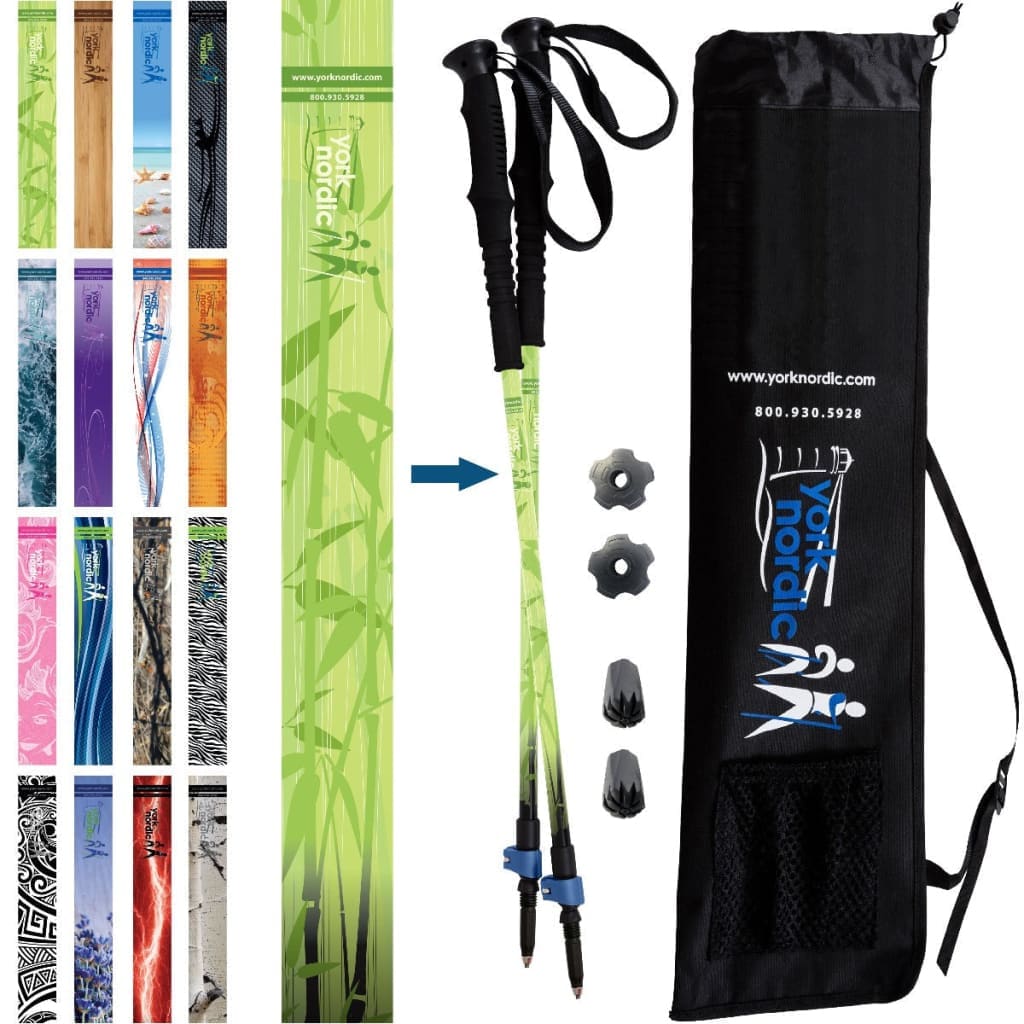
Latest Designs